Understanding Your Findings
The Findings tab is where you will spend most of your time. It lists every issue the agent identified, ranked by severity, with the detail you need to triage and remediate each one.
Side panel
The left side panel helps you navigate the list, filter by severity, and ask follow-up questions.
Table of contents
The panel lists every finding, grouped by severity (High, Medium, Low, Info, Best Practices). Each entry shows a short title. Clicking an entry scrolls the main view to that finding.
Severity filter
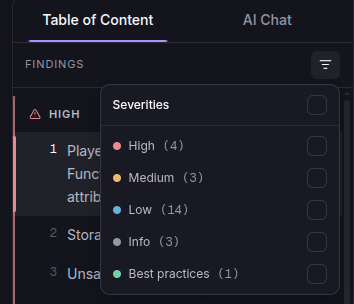
Filter the list by severity to focus on what matters first. A common workflow is to start with High only, work through it, then move down.
AI Chat
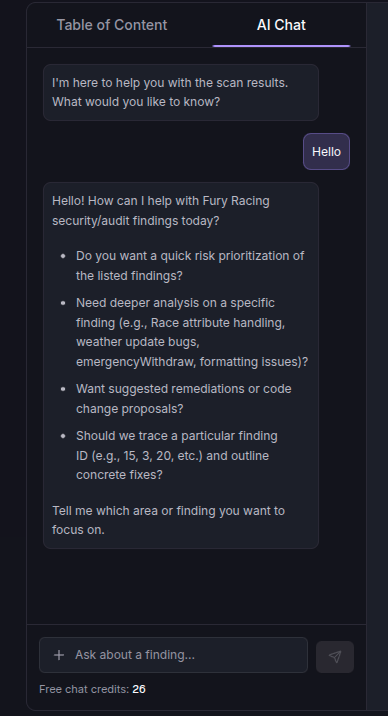
The AI Chat surface lets you ask questions about any specific finding. Common uses include clarifying what an issue means, discussing remediation strategies, and asking for more context on the exploit path.
You get 10 free chat credits per 500 BLoC. The exact count comes from your BLoC estimate.
estimated_bloc = ceil(tokens / 10)
free_chat_credits = ceil(estimated_bloc / 500) * 10
Finding details
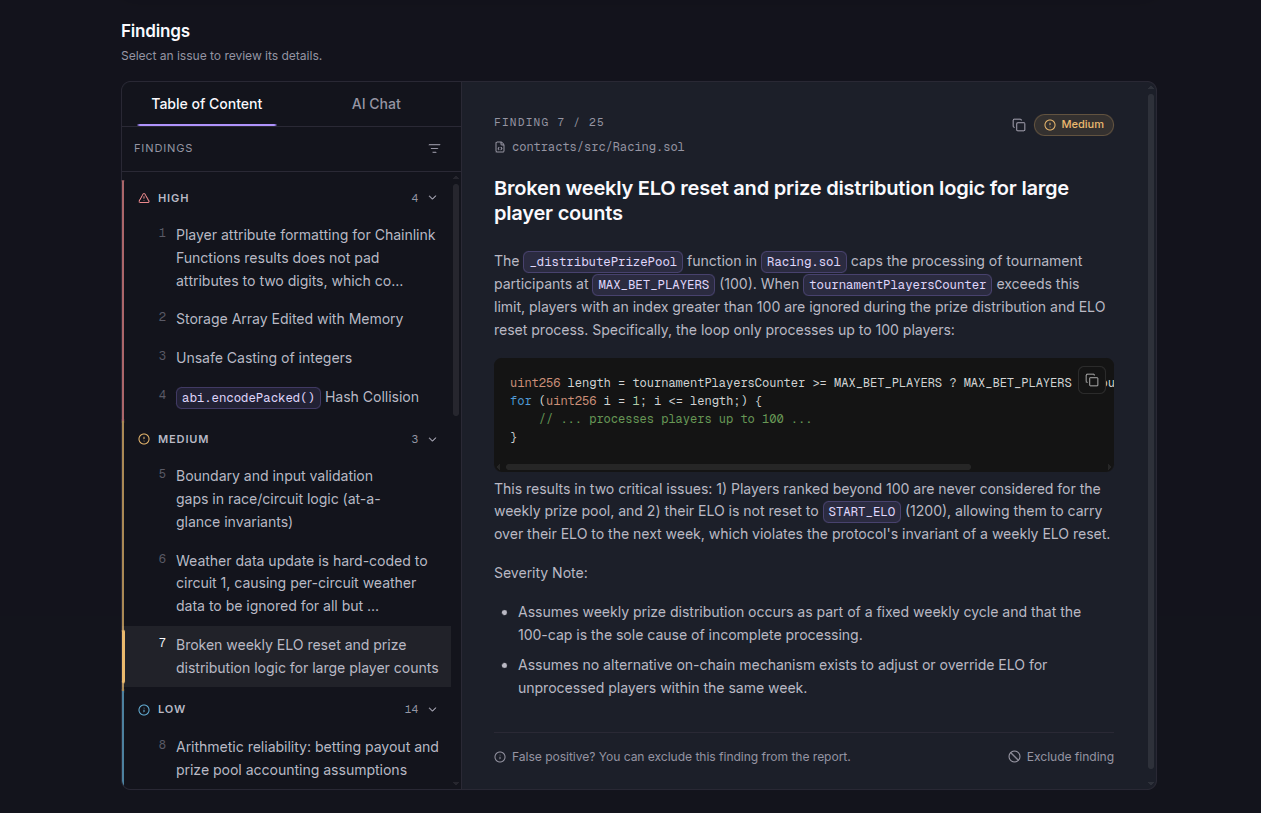
Click a finding from the table of contents to load its full detail in the main view. Each finding includes a title, a severity level, and a detailed description. The description explains what the issue is, how it can be exploited or what its impact could be, the conditions or flow that lead to it, and the relevant code snippet.
Findings are displayed in decreasing severity order. Scroll through or use the table of contents to navigate.
A typical review workflow
- Filter the list by severity, starting with High.
- Click a finding in the table of contents to view its details.
- Read the description and examine the code snippet.
- Analyse the impact and the root cause.
- Use the AI Chat for clarification or remediation suggestions when needed.
- Plan and apply the fix in your code.
- Re-scan to confirm the fix and check for regressions.
If a finding does not apply to your project, you can exclude it so similar findings stop appearing in future scans.